Having fresh herbs in your apartment kitchen isn’t just a trendy aesthetic—it’s a transformative lifestyle choice that brings flavor, fragrance, and a touch of nature directly into your living space. Whether you’re an aspiring home chef, a health-conscious eater, or simply someone who enjoys the calming presence of greenery, an indoor herb garden is one of the most rewarding projects you can take on. Best of all? You don’t need a backyard, a balcony, or even a green thumb to succeed.
In this comprehensive guide, you’ll learn exactly how to create, maintain, and enjoy your very own mini herb garden inside your apartment kitchen—even in small spaces with limited sunlight.
Why You Should Grow Herbs Indoors
Before we dive into the “how,” let’s explore the powerful reasons behind the growing popularity of kitchen herb gardens:
1. Unmatched Convenience
You’ll always have fresh herbs within arm’s reach while cooking. No more last-minute trips to the grocery store or tossing wilted supermarket herbs into the trash.
2. Healthier Meals
Fresh herbs enhance flavor naturally, allowing you to use less salt, sugar, and artificial seasonings in your meals.
3. Cost-Effective
A single pack of supermarket basil costs almost as much as an entire plant that can yield fresh leaves for months.
4. Aromatic Environment
Nothing beats the scent of fresh rosemary, basil, or mint filling your kitchen with natural fragrance.
5. Visual Appeal
Herbs add vibrant green life to your kitchen, complementing both modern and rustic decor styles.
6. Sustainable Living
Growing your own herbs reduces plastic packaging waste and minimizes your carbon footprint from store-bought products.
The Best Herbs to Grow Indoors
While many herbs can thrive indoors, some varieties are particularly well-suited for apartment kitchens due to their adaptability, growth rate, and minimal care requirements.
1. Basil (Ocimum basilicum)
- Flavor Profile: Sweet, peppery; perfect for Italian dishes, pestos, and salads.
- Light Needs: Prefers at least 6 hours of bright, direct sunlight.
- Special Tip: Pinch off flower buds to encourage leaf growth.
2. Parsley (Petroselinum crispum)
- Flavor Profile: Fresh, slightly peppery; great for garnishes, sauces, and salads.
- Light Needs: Bright indirect light; can tolerate some shade.
- Special Tip: Water consistently to keep the soil moist.
3. Chives (Allium schoenoprasum)
- Flavor Profile: Mild onion taste; perfect for baked potatoes, omelets, and salads.
- Light Needs: Bright light but adaptable.
- Special Tip: Cut leaves 2 inches above the base to stimulate regrowth.
4. Mint (Mentha spp.)
- Flavor Profile: Cool and refreshing; ideal for teas, cocktails, and desserts.
- Light Needs: Partial sunlight.
- Special Tip: Plant mint separately—it’s invasive and spreads aggressively.
5. Thyme (Thymus vulgaris)
- Flavor Profile: Earthy and robust; perfect for roasted vegetables and meats.
- Light Needs: Full sun.
- Special Tip: Allow soil to dry between watering.
6. Rosemary (Rosmarinus officinalis)
- Flavor Profile: Woody and pine-like; excellent for roasting.
- Light Needs: Full sun, 6–8 hours daily.
- Special Tip: Ensure well-draining soil to prevent root rot.
7. Cilantro (Coriandrum sativum)
- Flavor Profile: Fresh and citrusy; widely used in Latin, Indian, and Asian cuisines.
- Light Needs: Bright, indirect light.
- Special Tip: Prefers cooler temperatures and frequent harvesting.
How to Set Up Your Kitchen Herb Garden — Step by Step
Step 1: Choose the Perfect Location
Herbs need light to thrive. The ideal location is:
- South-facing window: Maximum sunlight exposure.
- East or west-facing window: Moderate sunlight, ideal for partial-sun herbs.
- Low-light kitchen? Consider full-spectrum LED grow lights to mimic natural sunlight.
Step 2: Select the Right Containers
The container plays a vital role in your herbs’ health:
- Drainage is essential: Always use pots with drainage holes.
- Material matters: Terracotta is breathable but dries quickly. Ceramic and plastic retain moisture longer.
- Creative options: Mason jars (with drainage layers), hanging planters, vertical wall gardens, or floating shelves.
Step 3: Use Proper Potting Soil
Indoor herbs thrive in light, well-draining potting mixes:
- Avoid backyard or heavy garden soil.
- Add perlite, coarse sand, or coconut coir to improve aeration.
- Use organic herb-specific potting mixes if available.
Step 4: Plant Your Herbs
You can start your garden using:
- Seeds: More economical but requires patience.
- Seedlings: Perfect for beginners—faster gratification.
- Cuttings: Quick propagation from store-bought herbs.
Important: Group herbs with similar watering and light needs together.
Essential Care Tips to Keep Your Herbs Thriving
1. Water Wisely
- Water when the top inch of soil feels dry.
- Avoid overwatering—root rot is the #1 killer of indoor herbs.
- Use a narrow-spout watering can for precision.
2. Ensure Adequate Lighting
- Aim for 6–8 hours of light daily.
- Rotate pots weekly for even growth.
- Supplement with grow lights during winter or in darker kitchens.
3. Fertilize Lightly
- Feed herbs once a month using diluted organic fertilizer.
- Avoid overfeeding; herbs are light feeders.
4. Harvest Regularly
- Harvest frequently to encourage bushier growth.
- Never cut more than one-third of the plant at a time.
5. Monitor for Pests
- Inspect plants weekly for aphids, spider mites, or fungus gnats.
- Use insecticidal soap or neem oil for minor infestations.
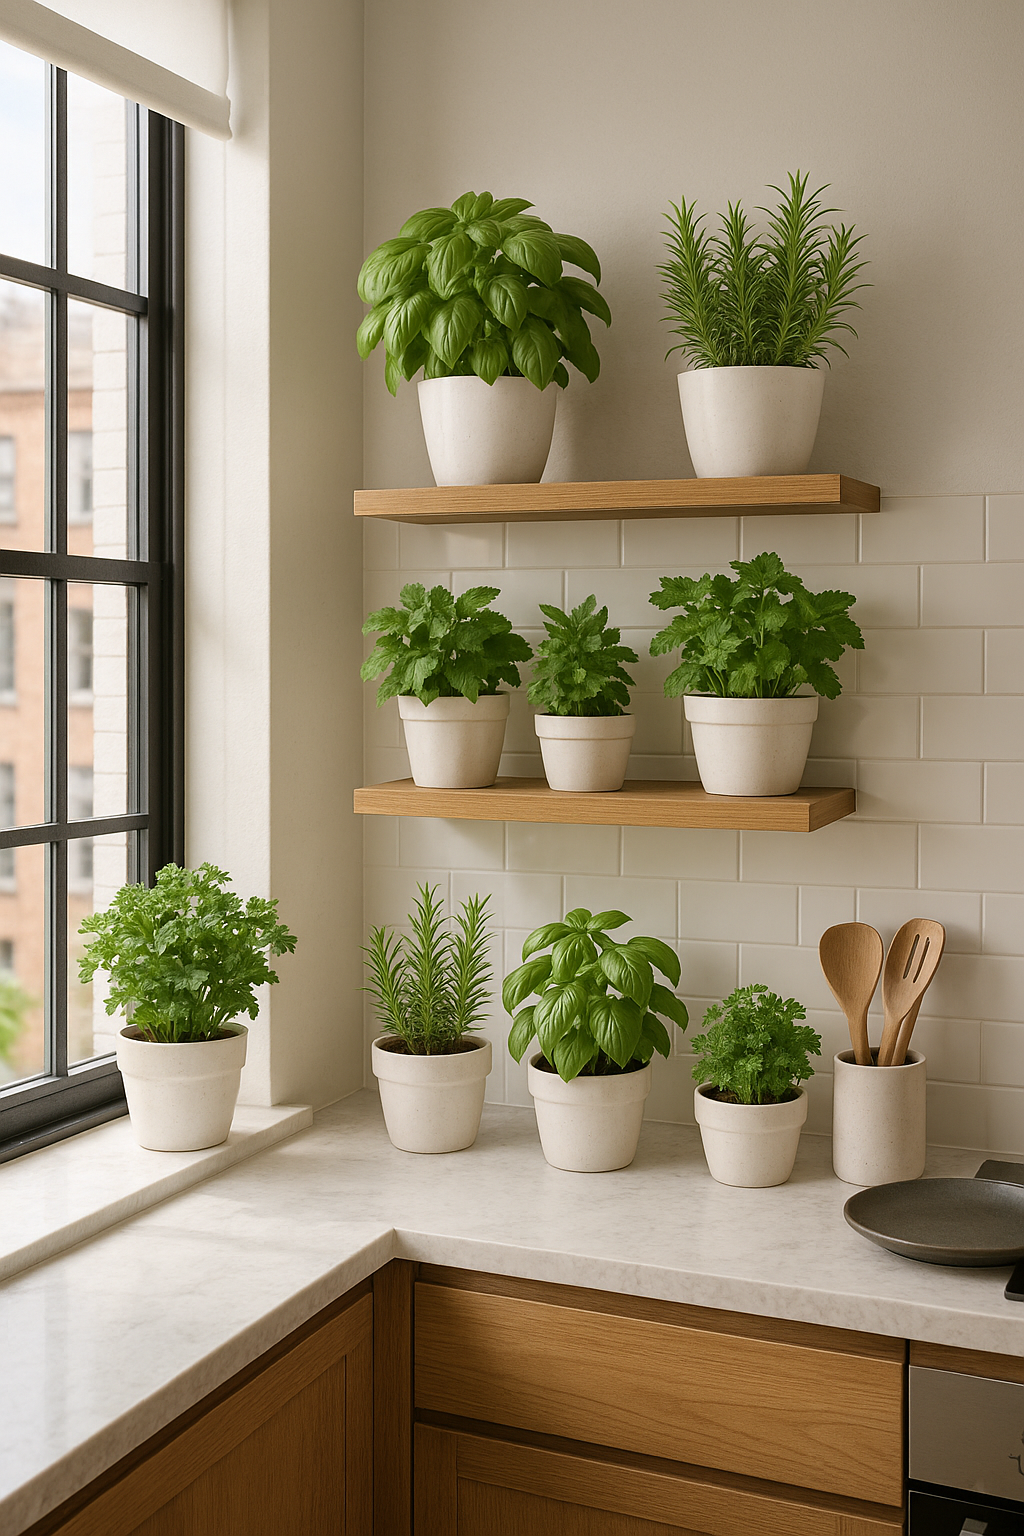
Creative Ideas to Display Your Kitchen Herb Garden
An indoor herb garden isn’t just practical—it can be a beautiful focal point in your kitchen. Here are some aesthetic options:
- Floating wall shelves near a window.
- Magnetic containers attached to your fridge.
- Hanging planters from curtain rods or ceiling hooks.
- Vertical pallet gardens for rustic charm.
- Tiered counter stands for maximum use of limited counter space.
- Reclaimed wood wall units for a farmhouse vibe.
Pro tip: Label each pot using chalkboard markers or engraved tags for easy identification.
Troubleshooting Common Herb Growing Issues
| Problem | Likely Cause | Solution |
|---|---|---|
| Wilting Leaves | Over or underwatering | Adjust watering frequency after checking soil moisture |
| Yellow Leaves | Nutrient imbalance or poor drainage | Improve drainage; fertilize lightly |
| Leggy Growth | Insufficient light | Move to a brighter location; use grow lights |
| Mold on Soil | Excess moisture | Improve airflow; allow soil to dry more completely |
Seasonal Considerations for Indoor Herbs
- Winter: Growth slows; reduce watering and fertilizing.
- Summer: Monitor for faster evaporation and increase watering slightly.
- Spring/Fall: Best time to start new plants or repot older ones.
The Joy of Growing Herbs Indoors
Starting your own mini herb garden isn’t just a hobby—it’s an investment in your quality of life. Every time you snip fresh basil for pasta, toss parsley onto a salad, or stir rosemary into a roast, you’re reaping the rewards of your care and attention.
Even if your kitchen is small or lacks natural light, modern solutions like grow lights, vertical planters, and compact containers make indoor herb gardening accessible for anyone. Plus, there’s immense satisfaction in nurturing living plants and watching them flourish in your space.
In just a few weeks, you’ll go from supermarket dependency to self-sufficiency—and your taste buds will thank you.
A small space is no limitation for big flavor. Start your mini herb garden today and bring a fresh, green spark into your everyday cooking and living experience. 🌿