Repotting your indoor plants is a crucial part of maintaining their health, allowing roots to expand, refreshing depleted soil, and encouraging fresh growth. However, for apartment dwellers, repotting can feel like a daunting task: limited space, lack of outdoor access, and concerns about making a mess often lead plant owners to postpone this necessary chore.
Fortunately, with a little preparation and the right techniques, repotting your apartment plants can be a smooth, efficient, and mess-free experience.
In this complete guide, you’ll learn when and how to repot your indoor plants neatly—even in the smallest apartment—while keeping your living space spotless.
When to Repot Indoor Plants
Before diving into the “how,” it’s important to recognize when your plant actually needs repotting. Repotting too frequently can cause unnecessary stress, but delaying it too long can stunt your plant’s growth.
Key Signs It’s Time to Repot:
- Roots Growing Out of Drainage Holes: Indicates the roots are circling the pot and need more space.
- Water Drains Instantly: Water running straight through suggests the root system is too dense.
- Slowed Growth or Yellowing Leaves: A sign that the plant is becoming root-bound or soil nutrients are depleted.
- Top-Heavy Plant: If your plant looks oversized compared to its pot, it likely needs a larger container.
Best Time to Repot:
- Spring or Early Summer is ideal, when most plants enter their active growing season and can recover quickly from the transition.
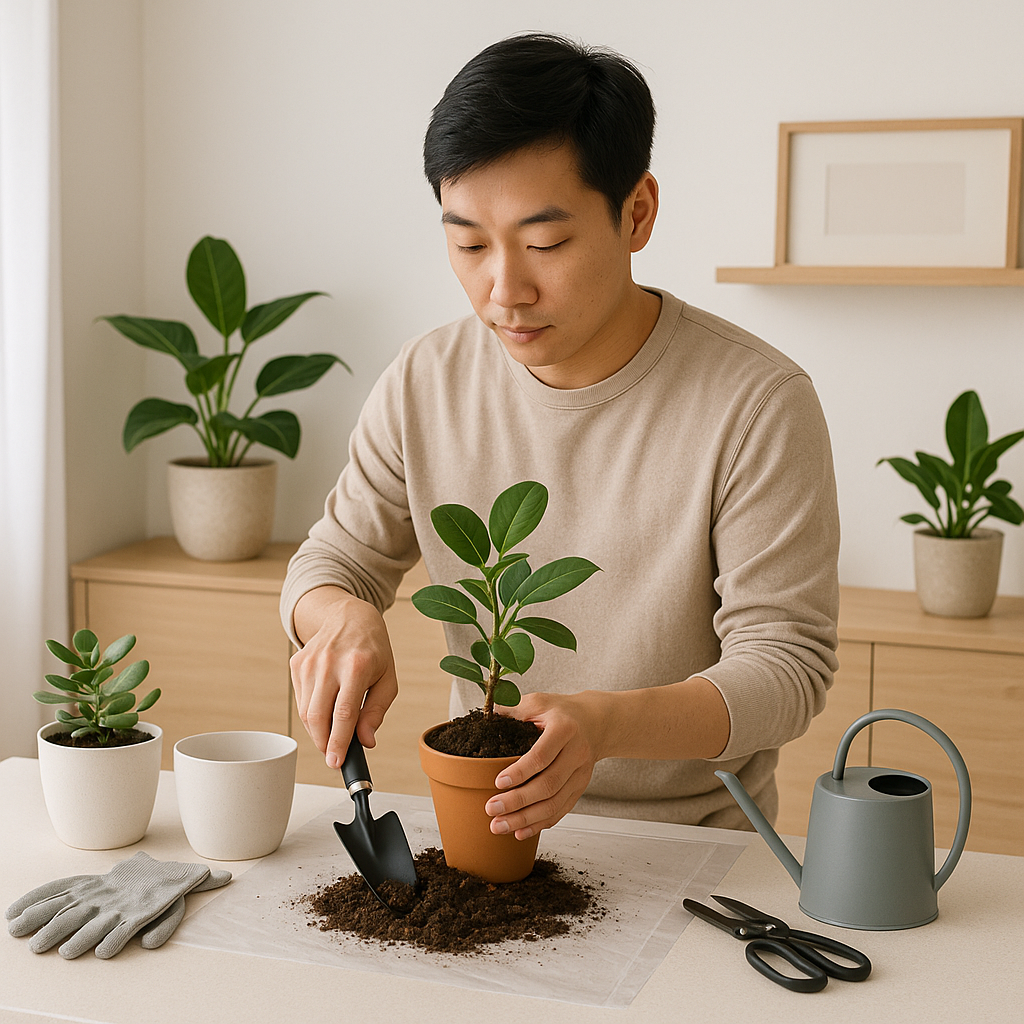
What You’ll Need: Your Indoor Repotting Toolkit
Being properly equipped will make the entire process more efficient and much cleaner:
- New Pot: 1–2 inches wider in diameter than the current one, with drainage holes.
- Potting Mix: Select a mix suitable for your plant species (cactus mix, tropical blend, or general-purpose).
- Trowel or Large Spoon: For scooping and filling soil.
- Plastic Sheet or Old Newspaper: To protect your floors or work surface.
- Gloves (Optional): Protect your hands, especially when dealing with prickly or toxic plants.
- Scissors or Pruners: For trimming dead or tangled roots.
- Watering Can: To hydrate your plant after repotting.
- Saucer or Tray: To catch any excess water after watering.
Step-by-Step Indoor Repotting Guide
Step 1: Prepare Your Workspace
The key to repotting indoors without making a mess lies in careful preparation:
- Spread a plastic sheet, drop cloth, or several layers of old newspaper on your work surface.
- Choose a location near a sink, balcony, or any washable surface.
- Keep a dustpan and brush nearby for quick cleanup.
- Wear comfortable clothes you don’t mind getting a little dirty.
Step 2: Gently Remove the Plant
- Hold the base of the plant near the soil line.
- Lightly squeeze the sides of flexible plastic pots or gently tap the sides and bottom of ceramic pots to loosen the soil.
- If stuck, run a butter knife around the inside edge to loosen roots without damaging them.
- Slowly tilt and slide the plant out, supporting both the root ball and stems.
Step 3: Loosen and Inspect the Roots
- Gently tease apart any circling roots to encourage outward growth in the new pot.
- Use your pruners or scissors to trim away dead, blackened, or mushy roots.
- If roots are extremely compact, slice vertically into the root ball in 2–3 spots to promote new root branching.
Step 4: Add Fresh Soil
- Place a small layer of fresh soil at the bottom of the new pot.
- Position the plant so it sits at the same depth as before.
- Fill the sides with new potting mix, using your trowel or hands to gently tamp down the soil.
- Leave approximately 1 inch of space from the rim to allow for watering.
Step 5: Water Lightly
- Water the plant slowly and thoroughly until moisture drains from the bottom.
- Place the pot on a saucer or tray to catch any excess water.
- Avoid overwatering, as the roots need time to adjust.
Pro Tips to Avoid Mess in Small Spaces
- Use a large plastic bag or shower cap around the base of the plant while working.
- Repot directly over your bathtub, shower floor, or kitchen sink for easy cleanup.
- Work on a folding table or kitchen island covered with protective material.
- Always have paper towels or microfiber cloths handy for immediate spills.
Aftercare: Helping Your Plant Settle In
Repotting can be a bit stressful for your plant. The right aftercare will ensure a smooth transition:
- Place in Indirect Light: Let your plant recover in a shaded or filtered light area for a few days.
- Hold Off on Fertilizer: Wait 2–3 weeks before resuming fertilization to avoid burning newly adjusted roots.
- Watch for Shock: Slight drooping is normal but should improve within a few days.
- Resume Normal Care: Once new growth appears, resume your regular watering and feeding schedule.
Common Repotting Mistakes to Avoid
| Mistake | Consequence | How to Avoid It |
|---|---|---|
| Overpotting | Soil stays wet too long | Only size up 1–2 inches |
| Compacting the Soil | Poor drainage, suffocated roots | Lightly tamp, don’t pack tight |
| Using the Wrong Soil | Root rot or poor growth | Use species-appropriate mix |
| Overwatering After Repotting | Root rot | Water lightly and monitor |
| Repotting in Low Light Season | Stress, slowed recovery | Repot in spring or early summer |
Alternative Clean-Up Tips
If you’re especially worried about dirt, consider these bonus clean-up hacks:
- Use a collapsible tray with high sides to contain loose soil.
- Repurpose a large cardboard box as your repotting workstation.
- Invest in washable silicone mats that can be easily cleaned after use.
- Place a sticky lint roller nearby for quickly removing soil from your clothes and soft furnishings.
Final Thoughts
Repotting your apartment plants doesn’t need to feel like a chaotic or messy ordeal. With a little organization, proper tools, and a prepared workspace, you can repot any plant confidently, all while keeping your home clean and stress-free.
The reward? Healthier plants, stronger root systems, and vibrant new growth that will fill your apartment with fresh, beautiful greenery for months to come.
A few minutes of mindful repotting today means years of lush, thriving plants tomorrow.